5/29/16 part III
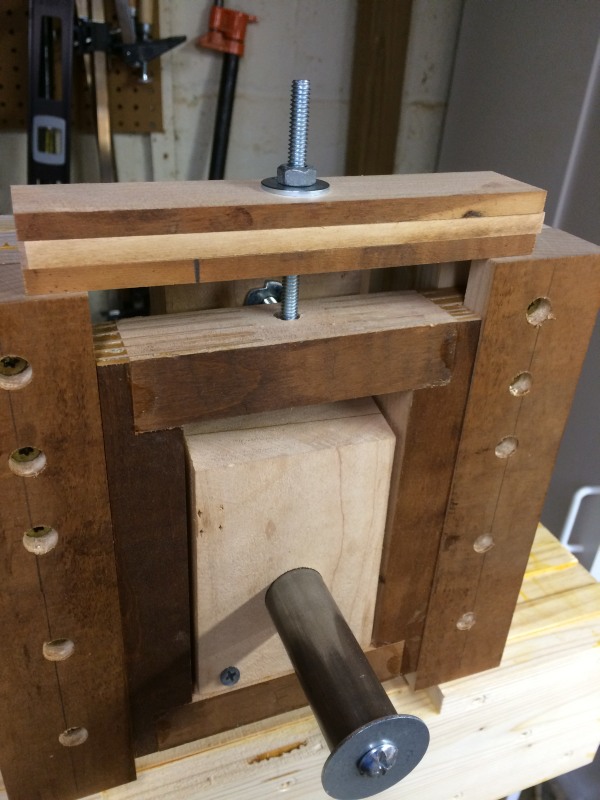
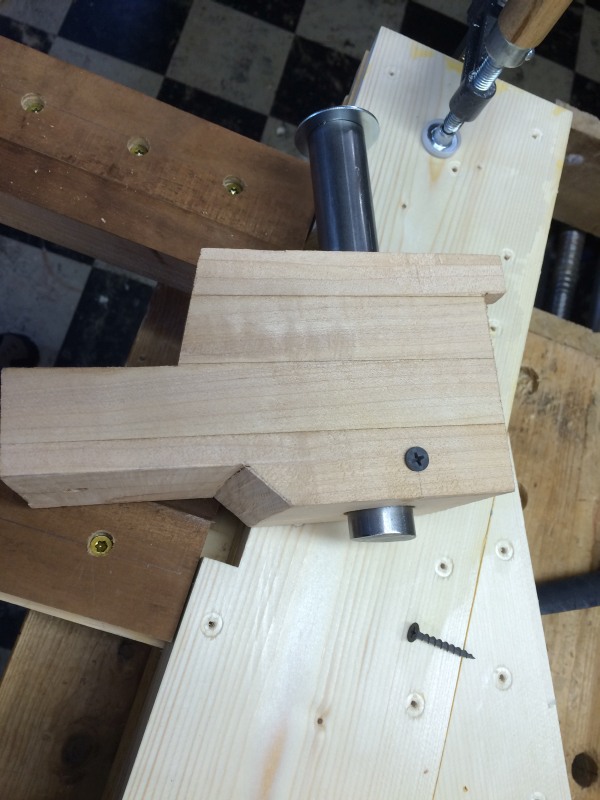
I put the shaft in the top bearing block. I drilled a hole in the side to anchor the shaft in place with a drywall screw.
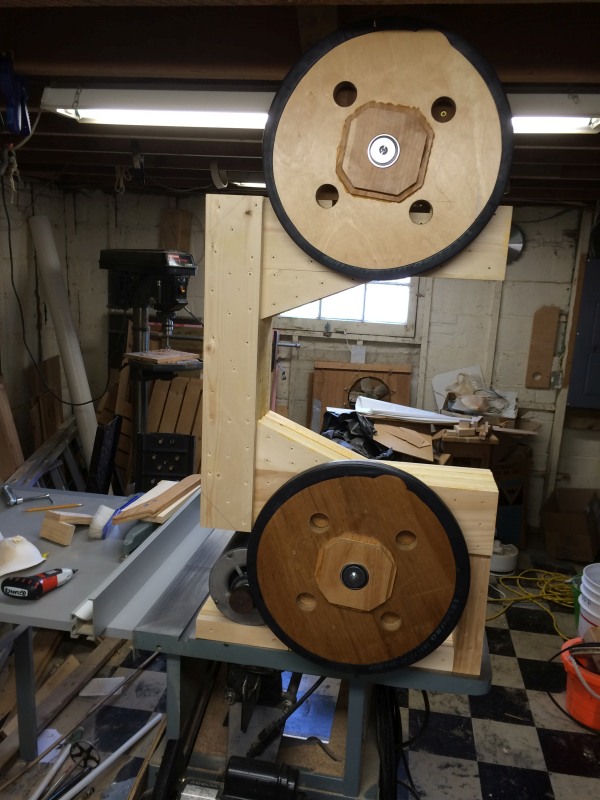
I put the wheels on just to see how it goes together and to admire it. The wheels make it want to tip over, so I set the motor in the area where it will go and weigh it down.
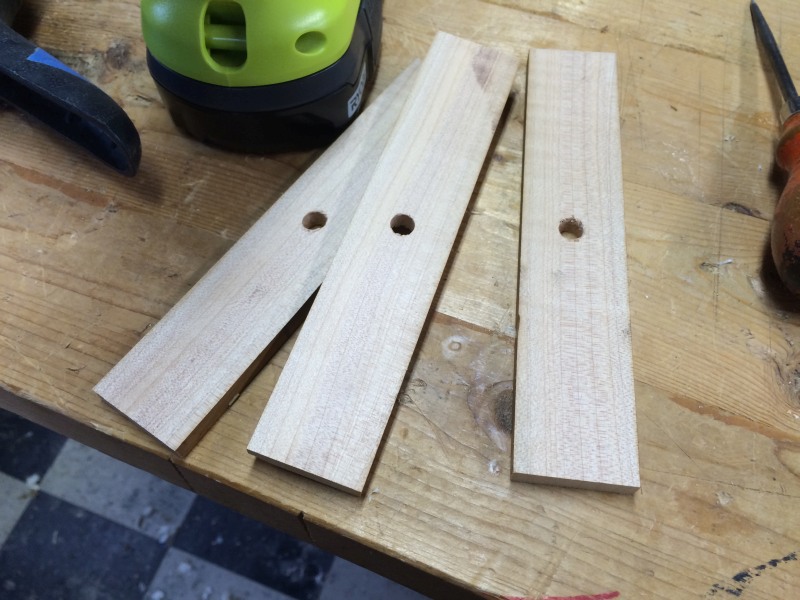
I cut 3 strips of maple to act as leaf springs to support the top wheel. These wooden strips will break before anything else, so they are a safety device, like a fuse.
These are the leaf springs installed, and a good picture for an overview of the whole top wheel mounting system. You adjust the blade tension by turning that nut at the top and raising the frame that holds the bearing block and top wheel. Thats why the frame needed to slide in those L brackets.